Recently, I was honored to be given the opportunity to create a video and blog for Miss Mustard Seed's MilkPaint, my favorite refinishing products and the supplier of the products I sell here on my website. The assignment: find the perfect project to showcase October's color of the month, Curio.

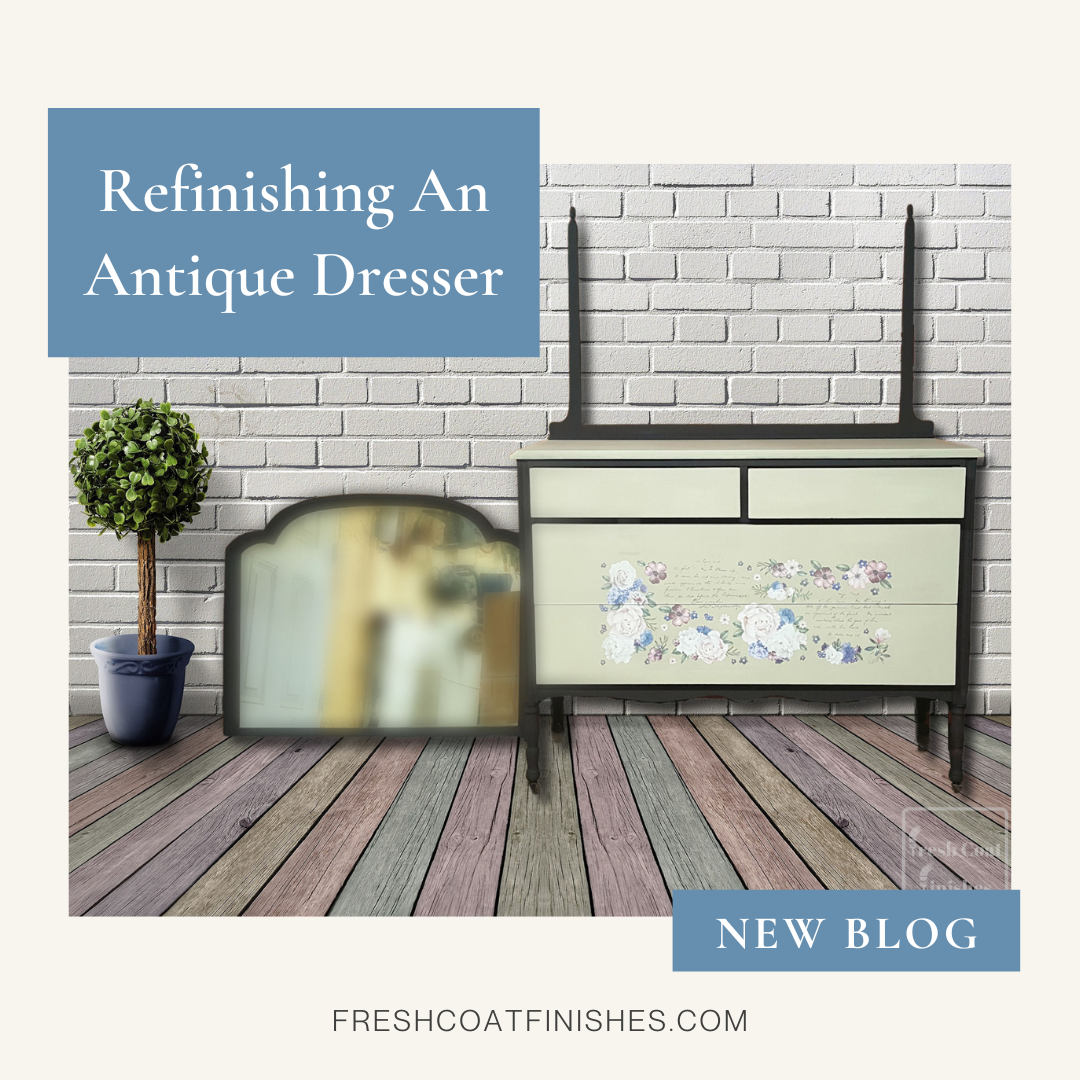
I had this lovely antique dresser I got from a friend. It's a high quality piece of furniture that was absolutely gorgeous, but it had seen a lot of use and had some issues. I knew Curio would do it justice and make it beautiful again.
Curio is a rich, dark brown that's a favorite of mine. I’ve been using Miss Mustard Seed’s MilkPaint for many years, and I’ve used Curio many times in different ways. When mixed with water in a 1 to1 ratio, which is what I’m doing for this project, it’s a beautiful color that complements many color schemes.
I’ve also used it as a base coat underneath another color when I want it distressed or chippy. In that case, I might add some MilkGrip to the Curio to make sure it adheres well.
Curio also make s a fabulous stain when mixed with extra water and used on bare wood. Check the MMS blog to find instructions on how to do that.
For this project, I decided to pair Curio with Carolina Dune, one of the newest colors from MMSMP. It’s a warm, sandy brown. It’s my first time using this color, but I knew it would be perfect as a background for the floral transfer I would be putting on the drawers.
Following are the steps I used to refinish this antique dresser. More of a visual learner? Watch this video to see my refinishing steps! Otherwise, scroll on!
Here are the supplies I used to complete this antique dresser makeover:
- Cleaner (Dawn) with a bucket, water and a sponge
- Rags
- Sandpaper (60, 80, 150, 220)
- MMS MilkPaint in Carolina Dune
- MMS MilkPaint in Curio
- MMS MilkMix EZ
- MMS MilkOil
- MMS MilkWax in Clear
- MMS MilkWax in Antiquing
- Paint brushes
Preparation
The hardware needed to be replaced, as there was a knob missing. Because the new hardware is a different size, I patched the holes.
The finials had broken off long ago and needed to be replaced. I found some to match the size and style at Woodpeckers Crafts.
The veneer was badly damaged, so I sanded it well using graduated sandpaper grits. The rest only needs a light, scuff sanding.
But first, I started with a thorough cleaning. Cleaning is very important! A good cleaning will ensure your paint adheres well. It also makes sanding more efficient, and you’ll use less sandpaper. Sometimes, depending on the existing finish and the look you want, you may not even need to sand, just give it a thorough cleaning. Don’t forget to clean underneath and inside where the crawlies like to hide!
See my recent blog for more information on prepping your projects.
Mixing the Paint
I mixed both paint colors using a 1:1 ratio of water and powder. Depending on your mixing method (stirring, milk frother, shaking, etc) you may want to add a few drops of MMS MilkMix-EZ, but it’s not required. MilkMix-EZ helps the powder and water incorporate faster and reduces foaming. Sometimes I use it, sometimes I don’t. It’s always a good idea to let the paint sit for at least 10 minutes to allow it settle and to make sure the water is absorbed into all the pigments.
See my complete tutorial on mixing milk paint.
Painting
Milk paint usually requires two coats or more. The first coat (often called the "ugly coat"), can look patchy or streaky. Don’t be alarmed! This is perfectly normal. The second coat will look so much better.

The First Coat (gasp!)
If I’m wanting a very smooth finish, I may give it a light sanding with very fine sandpaper after each coat, but the new formulation of Miss Mustard Seed’s MilkPaint has pretty much eliminated the need for that. It’s much smoother and silkier than the previous formula.
Top Coats
Milk paint needs to be sealed with a top coat to protect the finish. While other paints may contain sealer in their formula, I like the fact that I get to choose what type of finish I use on each project. Top coat choices include MilkWax furniture wax in various colors, MilkWax ECO, MilkOil hemp oil, and MilkCoat water based poly. See all the MMS top coat options.
Check out this blog to help you decide which to use for your projects.
I used MilkOil over the Curio painted portions of this project. I love the way MilkOil deepens the color, especially dark colors like Curio and Typewriter.
I used MilkWax in Clear for the Carolina Dune painted portions. I also added some MilkWax in Antiquing to the edges to give it a little more depth and interest. A little buffing all over and my project is almost done!
Final Steps
I added a floral transfer (from Redesign With Prima) to the two big drawers. After the new hardware went on and the mirror was reattached, this project was done! At the time of publishing this blog, this dresser is available for purchase in my store. See it HERE!


Hmmmm, what will my next project be? Please follow Fresh Coat Finishes on the platforms of your choice using the icons down below to see where I go from here!
I’m happy to get feedback or questions about this project or anything else related to furniture refinishing. If I don’t know the answer, I’ll consult the experts at Miss Mustard Seed’s MilkPaint. I can be reached through my website, FreshCoatFinishes.com. Thanks for checking this out and happy painting!


